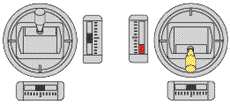
The change from 2-channels to 4-channels is made possible by adding two more wires from the DMD Control Unit T-05 to the receiver. This re-wiring will enable the receiver to pick up 4 signals. The DMD Control Unit T-05 will automatically differentiate signals when turned on.
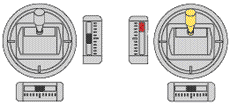
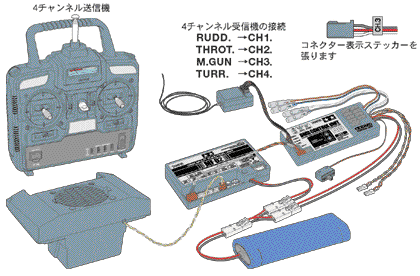
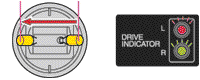
Attaching DMD Control Unit T-05 to 4-channel receiver
RUDD.- CH1 THROT.- CH2 M.GUN- CH3 TURR.- CH4
*To avoid misconnecting wires from the DMD Control Unit T-05 please affix marker stickers included in kit.
Caution
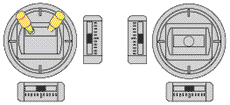
*Please disconnect extension unit (it will not be used)
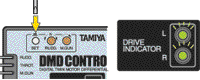
*Do not connect receiver battery to power source as this may lead to DMD Control Unit T-05 malfunction.
Please refer to picture when attaching wires. Bind wires with nylon cord to avoid tangling.
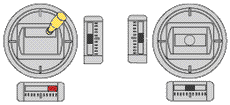
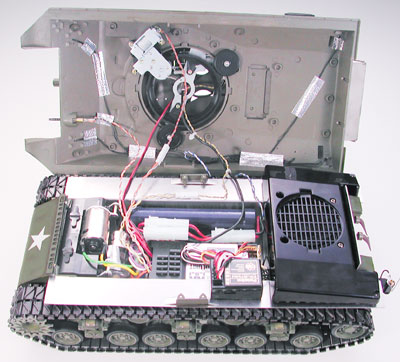
 Receiver converted from 2-channel to 4-channel use. Receiver converted from 2-channel to 4-channel use. Internal wiring can be affixed to under side of upper hull using Aluminum Reinforced Tape (Option Parts, Product No, 53351). Internal wiring can be affixed to under side of upper hull using Aluminum Reinforced Tape (Option Parts, Product No, 53351). If light valve unit is cut or broken, all 4 lamps must be replaced. Please take care when installing. If light valve unit is cut or broken, all 4 lamps must be replaced. Please take care when installing.
Programming the DMD Control Unit T-05
|
It is always necessary to program the DMD Control Unit T-05. Turn the transmitter switch on and set all trim levers to neutral-position. Program in the following order:
|
|
|
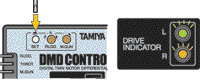
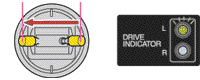
1) Reset DMD Control Unit T-05
When turning on switch, green light will flash on and off. Push set button with driver included in kit. Hold button down and the drive indicator light will flash alternately from red to orange to green.
|
|
|
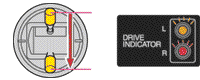
2) Set Left Control Stick (up/down)
Move left control stick from the neutral position to the full up and then to the full down position. Drive indicator light will continue to flash red-orange-green.
|
|
|
3) Set Right Control Stick (left/right)
Move right control stick from the neutral position to the full right and then to the full left position. Drive indicator light will continue to flash red-orange-green.
|
|
|
4) Set Right Control Stick (up/down)
Move left control stick from the neutral position to the full up and then to the full down position. Drive indicator light will continue to flash red-orange-green.
|
|
|
5) Set Left Control Stick (left/right)
Move left control sick from the neutral position to the full right and then to the full left position. After completing steps 2-5, L and R indicator lights will alternately flash green and programming will be complete. At this point the computer will have finished recording the control sticks' range of movement.
|
|
|
6) Final Step
Push the set button one more time with the driver included in the kit. Both indicator lights will flash green simultaneously.
|
 |
|
here some more helpfull tips :
without having to move your trims each time..
and
12/2004
|